DIY Kimono Jacket
Not literally a jacket, but something more of a cardigan or cover-up piece. I fail to remember when I've always wanted to sew a baby like this for myself, but when I saw a very eye-catching fabric, I just had to do it. I mean come on, this is Zamboanga city, I don't see that type of cloth every day. Even better? I bought the last two meters. As in, LAST. Yeahp, God was with me that time.

MATERIALS NEEDED:
Fabric (1.5 meter)
Pair of Scissors
Pattern Paper (Or other large paper)
Pins
Marker
Sewing Machine (Optional)
Sewing needle and thread
1. MEASURE AND TRACE
Measure out how long the sleeves you want your kimono to have and continue with the length and waist. You can go very loose with this one, but not that loose that you'll look super thin and malnourished. Don't forget to add allowance to your measurements.
 |
| Didn't get to use this tracing paper because my grandmother remembered it too late. I used cartolina instead, however, it's rather thick, so you can't pin it on the fabric while cutting. |
After measuring, put all this measurements together to make a template, or pattern. You don't need to make a pattern as big as the final output. Only place in half of the original measurements, with allowance, and you get this output:
 |
| CARTOLINA! |
2. CUTTING
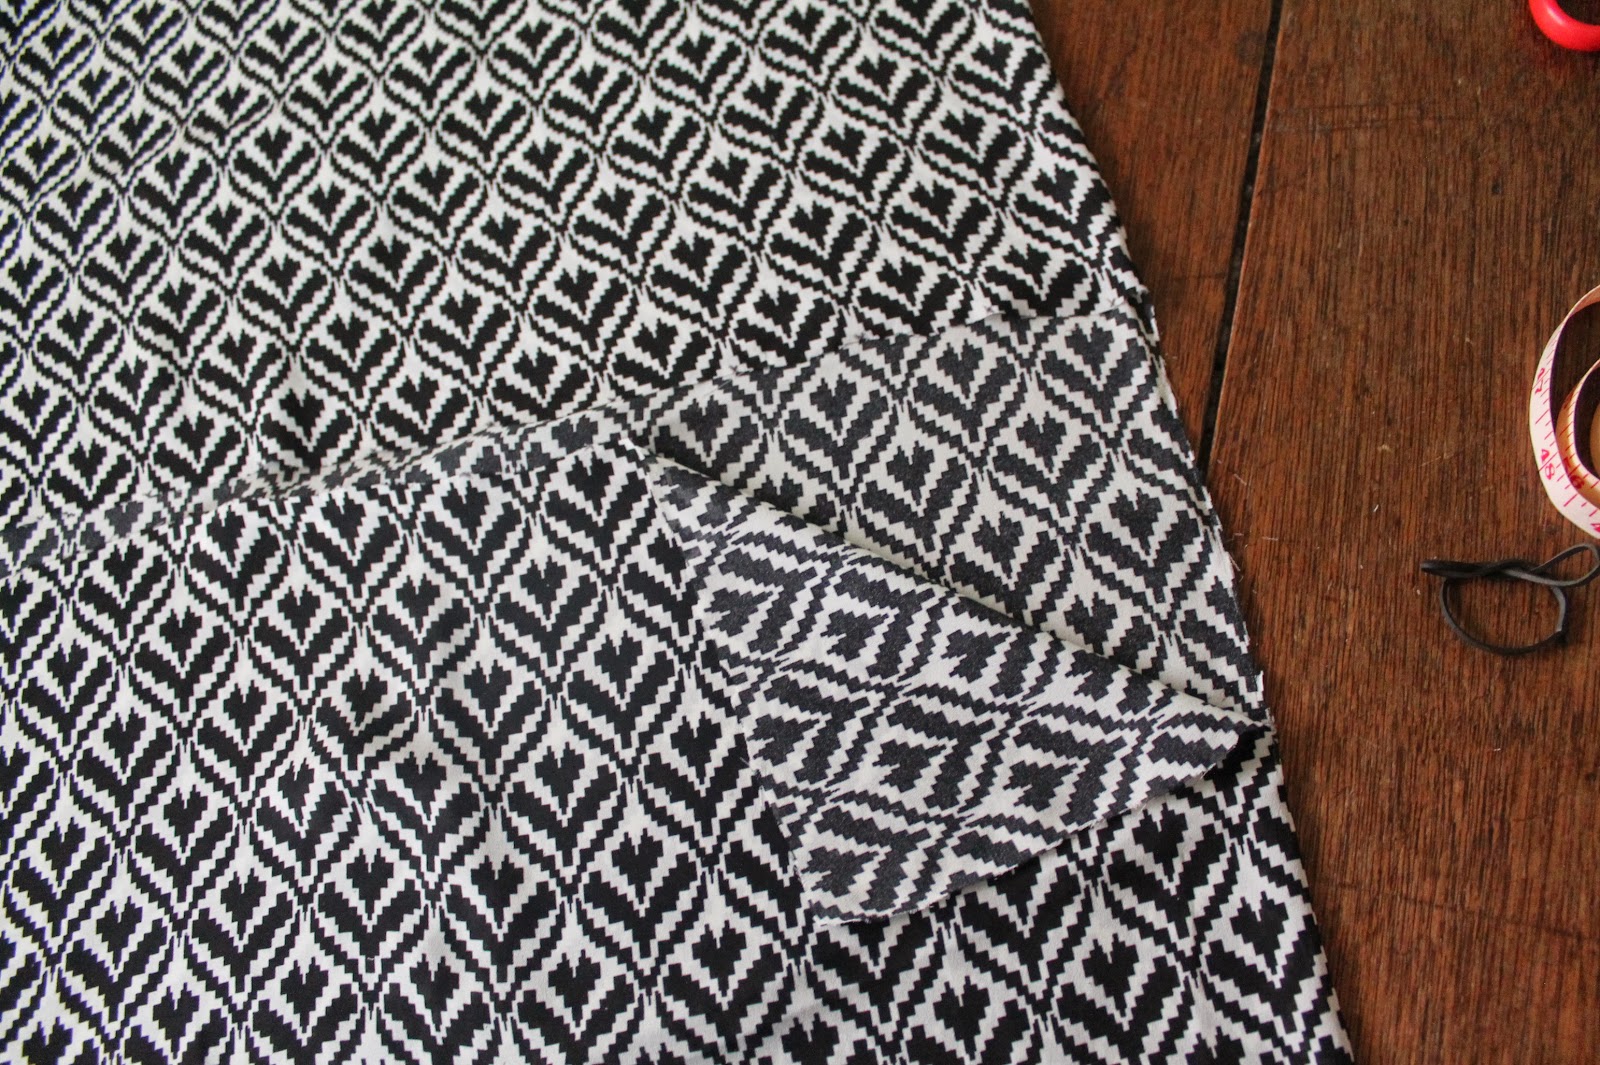
Get your shears/pair of scissors and pin the pattern onto the fabric. Since you only made half of the original measurements, fold the fabric in half as well. If you used paper thinner than cartolina, then lucky you! You get to pin it on the fabric while cutting. On the other hand, in my case, I had to struggle by only pinning down the fabric underneath the template to keep myself from ruining it. TIP: Make sure to cut around the wrong side of the fabric. I learned that the hard way after cutting on the right side and having too much trouble pinning the fabric in the next few minutes. This is the output:
 |
| FOLDED |
 |
| UNFOLDED |
3. PIN AND CUT SOME MORE
Pin the arms, not to be mistaken with the arm holes, together to prepare for the sewing. Also pin around the sides below the arms, or the bod itself. The arm hole pinning comes after you sew the arms. That way, you prevent the tendency of having the cloth run.

After making sure that every part is secured, cut around the middle of the front of the Kimono. When you reach the top, cut around five inches horizontally to make room for your neck. When you the five-inch mark, cut a triangle off of the neck part for a better finish.

4. SEWING TIME
Get to sewing! Here's the order of sewing that you should follow: a. Body, b. Arms, c. Arm holes, d. Front and neck part, e. Bottom of the body.

My hands were actually trembling all throughout the sewing process. Maybe because I was working with really thin fabric and I had to prevent it from running. On a lighter note, I was playing my Kpop and Japanese OSTs while doing the whole process of making this baby. The result turned out great!


I don't even care that I'm wearing my house clothes in those shots. All I can say is that I can't wait to wear this baby and do an outfit shoot with it. This is basically my very first sewing project in the apparel category and I plan to make more.


Comments
Post a Comment