Racerback Top Tutorial + New Inspiration
A few people had requested that I make a tutorial post of the racerback top that I wore in a previous post. :) I'm happy to say that here it is! Finally! :D
MATERIALS:
Old Shirt, preferably a really loose one
Pair of Scissors
Needle and Thread

STEP 1:
Cut up the sleeves and that seam around the shirt hole. Don't throw away the cut up sleeves yet! You'll be needing them in the next steps.


STEP 2:
Better safe than sorry, wear the shirt again and see if you need to cut any further. I had to cut around the arm holes a few times because it didn't exactly like the way the hole looked around my armpit. So yeah, wear it again and cut it up some more if you feel it's needed.
STEP 3:
Bundle up the back part of the arm holes. This is the most crucial thing about a racerback, the way it's constructed around the back it its highlight. You can use a pin to keep it in place.

STEP 4 & 5:
Remember those discarded sleeves? Well it's time that we finally use them! Take one of this pieces and sew up both of its longer ends. This way, you won't have to worry about some pieces of thread sticking in the future.

When you're done with that, put it around the bundled up back part of the top and get sewing! Stitches side out if you may? Anyway, you'll be able to flip it in the end, so no problems.
 |
| Photobomb Level: T-shirt |
 |
 |
| Flipped! |
STEP 6:
The best part, WEAR IT! The cool thing about this particular racerback is that you can adjust it to how high or low you want it to look, depending on how you feel.
 |
| Adjust-adjust pag may time. |
I actually made this way back last year. That may explain why my hair is shorter than it is in my current photos.
And going on to the "New Inspiration", I just came across another blog and I am totally in love with the blogger. I have to thank ate Rhea of rheabue.com for that. Her name is Bea Benedicto.

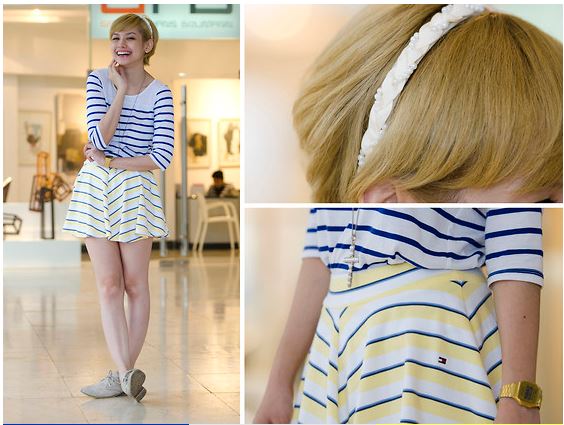
 |
| PHOTOS FROM HER LOOKBOOK ACCOUNT |
The thing that really drew me to her would definitely be her personality. I watched a few of her videos from her Youtube account and I feel that she could be really fun to hang out with. The second thing would have to be her style. I love the South Park scarf that she wore on the first picture and I definitely hope to be able to wear pieces similar to what she's wearing in all the photos.
I guess that's all for now. Anyway, thanks for finding the time to read this! And I hope to see all your works soon through the tutorial above. ;)


I told ya she Bea really reminded me of you! haha :) I'm glad you loved her blog.. she's really sweet online and offline. ;)
ReplyDeleteYou weren't wrong ate. :3 I hope that I'll be able to meet her one day. XD
DeleteI will try this one soon! Thank you for the wonderful tutorial. :)
ReplyDeleteNo problem ate! :)
DeleteI know how to do this! About Bea I know her. She's good and friendly. But you updated me about her look! She cut her hair short pala? Mygg! Must visit her blog soon! Hehe Thanks! Let's follow each other? :)
ReplyDeleteShe looks really good with short hair, right? :D I would love it if we followed each other. :3
DeleteYou have many brilliant ideas about DIYs, especially, with old shirts! Thanks for all your tips... I am sure the young girls are very happy with your sharing.
ReplyDeleteThank you! :) You're welcome, and I hope they really are happy. :3
Deletei loved the tutorial.. i will try it with my old shirts.. oxoxo www.chelsea-farrell.com
ReplyDeleteI'm glad to hear that. :3 Go ahead! XD It'll be a waste if you think that there's still something you can do with an old t-shirt. :)
DeleteThanks for sharing, Bern! Will use this as a guide the next time I feel like customizing an old shirt.
ReplyDeleteNo problem ate Jemm! :3
Delete