REALLY LONG HIATUS + BUnny Bonnet Tutorial
so yeah. :)) i have no excuse for my being away from this blog for so long except for the fact that i've been busy with school, and procrastinating. :p gomene~
so about the tutorial... i've been seeing a bunch of bloggers wearing them bonnets that have bunny ears at the ends. one example would be the ever-famous Rhea Bue of bebe-doll.net :
 |
| SIDENOTE: love her sweater! |
soooooo, i decided to have a trip to the ukay-ukay close to my home and aimed to find myself a plain bonnet. i wasn't able to find a pink or black one, the next best thing had been a navy blue-colored one.
STEP 1:
cut out the pattern of the bonnet. it will help if you lay the paper on top of the bonnet so as not to have mistakes in the measurements and all that. also, i made a big mistake of not adding shape to the design, as in, i didn't have it go into a progressing pattern. i'll remember to do that next time.
STEP 2:
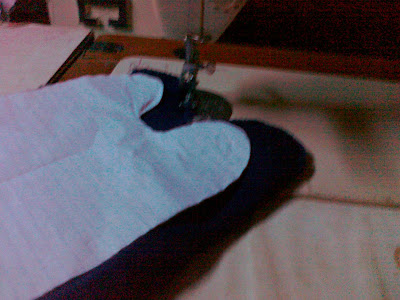
pin the pattern onto the bonnet. it will be a bit hard doing so considering that this is wool you're working with. pin it only to the one side that you lay the pattern on. that way, you don't have to worry about how the pins can't go all the way through to the bonnet.
 |
| sorry for the quality. this was taken with my phone since i didn't want to burden myself with bringing the DSLR into the small sewing room. :P |
STEP 3:
get sewing! i don't really encourage you guys to use a sewing machine, but then again, it could give better results. also, when using the sewing machine, i suggest that you don't place the presser foot down. it will prevent the wool from stretching out once you start sewing.
STEP 4:
ENJOY!
like i said, i forgot to place progression into the pattern. i'll make sure to do so the next time i work on another bonnet. and also, i might make myself a cat ears version soon. :3
well the, 'til the next post! hopefully it'll be an outfit post since i've had a bunch of unposted looks on standby. XD


Comments
Post a Comment